2018 February: Short walk to Putangirua Pinnacles, New Zealand North Island
Prolog - Putangirua Pinnacles
The Putangirua Pinnacles are a geological formation consisting of a large number of earth/rock pillars, known as hoodoos.


It is located at the head of the dry Putangirua Stream in the Aorangi Ranges, in the Wellington region of the North Island of New Zealand.
It is an amazing outlandish place, like from an alien world. So much so that part of the "Paths of the Dead" sequence in the film "The Lord of the Rings: The Return of the King" was filmed here.
And yet, this place doesn't seem to be well known. Well, I don't know about it until few months ago ! And once I heard of it and Googled the pictures, I just have to fly over here to have a look !
Considering today is a Saturday, I only meet one couple walking to see the hoodoos, and another 2 guys at the Putangirua Lookout. By contrast, 5 days later, on a Thursday, about 2000 people walk on Tongariro Crossing.
Just as well ... This place is so unreal, the less people here, the more magical it is !
Australia's hoodoos
Australia only has a few of these hoodoos.
There is a lone one standing like a lost soul in Wollemi National Park, NSW. It is named "Totem Pole". Photographs and trip report to the Totem Pole are in my blog:
http://mntviews.blogspot.com.au/2017/10/totem-pole-wollemi-nat-pk-nsw-australia.html
Another unnamed one is just by the escarpment on the north-west side of Byangee Mountain in Morton National Park, NSW. Photographs and trip report to Byangee Mountain are in my blog:
http://mntviews.blogspot.com/2018/11/byangee-mountain-nsw-morton-nat-pk.html ... Photo #24 is the rock pillar.
Weather
The official New Zealand weather bureau has been predicting rain for today in the Putangirua Pinnacles area. But the Norwegian weather site http://www.yr.no/ predicts no rain. Hhmmm, if there is going to be rain, I don't intend to drive all the way there. But I thought I'll give the Norwegian website a go.
Well, the weather turns out to be not bad ... a bit cloudy, but there are blue patches of sky every now and then ... definitely not a drop of rain. Why would a Norwegian site predict the weather better than the official New Zealand weather bureau ???
Map

GPS tracklog file & route
The GPX tracklog file of the walk can be downloaded from:
https://drive.google.com/file/d/1ZYnXg4vkKOzbFXH2lf4-9bmaQPByx0gP/view?usp=sharing
The same tracklog is displayed in the map below as blue dots, anti-clockwise direction.
- The 2 red dots from left to right:
1 Putangirua Pinnacles Scenic Reserve carpark ... start of today's walk
2 Putangirua Pinnacles Lookout
- Red arrow: In this report, I label it as gully #1.
- Red oval: Putangirua Pinnacles Campsite ... very large ... all along the road there.

In summary, the circuit route is:
- Start at Putangirua Pinnacles Scenic Reserve carpark by the side of Cape Palliser Road.
- Walk in an anti-clockwise direction ... first along Putangirua streambed to Putangirua Pinnacles.
- Then to Putangirua Lookout.
- Then to the small settlement of Te Kopi as a loop walk.
- Back to the car.
The corresponding satellite view from Google Earth ~~~
The tracklog is in turquoise colour.

Timeline & Distance
Park car at Putangirua Pinnacles Scenic Reserve carpark
07:16 0.0 km Start walking
07:47 1.9 km At a junction - Forward is further into the main valley. Turn left is to climb up towards Putangirua Lookout.
For now, I go into the main valley where the Putangirua Pinnacles are located.
07:54 2.2 km At entrance to a side gully, gully #1 in this report
Explore the inside of the gully #1.
08:06 2.6 km Back at the entrance to gully #1
08:15 2.9 km At as far into the main valley as I am willing to go. (You can keep going further in.)
08:16 2.9 km Turn around.
08:34 3.5 km At the junction as at 07:47 ... Start walking up towards Putangirua Lookout.
08:48 4.0 km At Putangirua Lookout
08:50 4.0 km Resume walking to Te Kopi
10:00 8.4 km At Cape Palliser Road at Te Kopi
10:05 8.8 km Back at the carpark
==============================================
Total: 2 hrs 49 mins at leisurely pace
8.8 km Distance is from Google Earth
9.6 km Distance is from Garmin GPS
Pictures: Putangirua Pinnacles Scenic Reserve carpark
1) Carpark for Putangirua Pinnacles, just by the side of Cape Palliser Road ~~~
One can park the car further in (see photo #2), thus saving some distance in walking to the Putangirua Pinnacles. However mine is a circuit walk, hence it doesn't matter where the car is parked. The total walking distance would be the same.
- My hire car in New Zealand is the grey Toyota Corolla.
- Rectangle on right edge: Toilet ... Yes, there is a toilet here.
- Yellow arrow: Direction of my walk now
- Blue arrows: The final few steps at the end of the walk

Putangirua Pinnacles Campsite
2) Part of the Putangirua Pinnacles Campsite which is a few steps to the east of the carpark in the previous pic.
- Red arrow: Palliser Bay
- Yellow arrows: Direction of walk

3) Looking back at the campsite (Click on the image to enlarge it.) ~~~
- Yellow arrow: Direction of walk
- Left red arrow: Palliser Bay
- Right red arrow: Turakirae Head ... directly west
- You should be able to match the cars and the blue tent at the dead centre of this pic with the previous pic :-)

Along Putangirua streambed to Putangirua Pinnacles
4) To reach Putangirua Pinnacles, just walk upstream along the Putangirua streambed. Today when I'm here, the stream is mostly dry.
In case you are blind, the NZ National Parks authorities have erected this large cairn and a post to guide you :-)

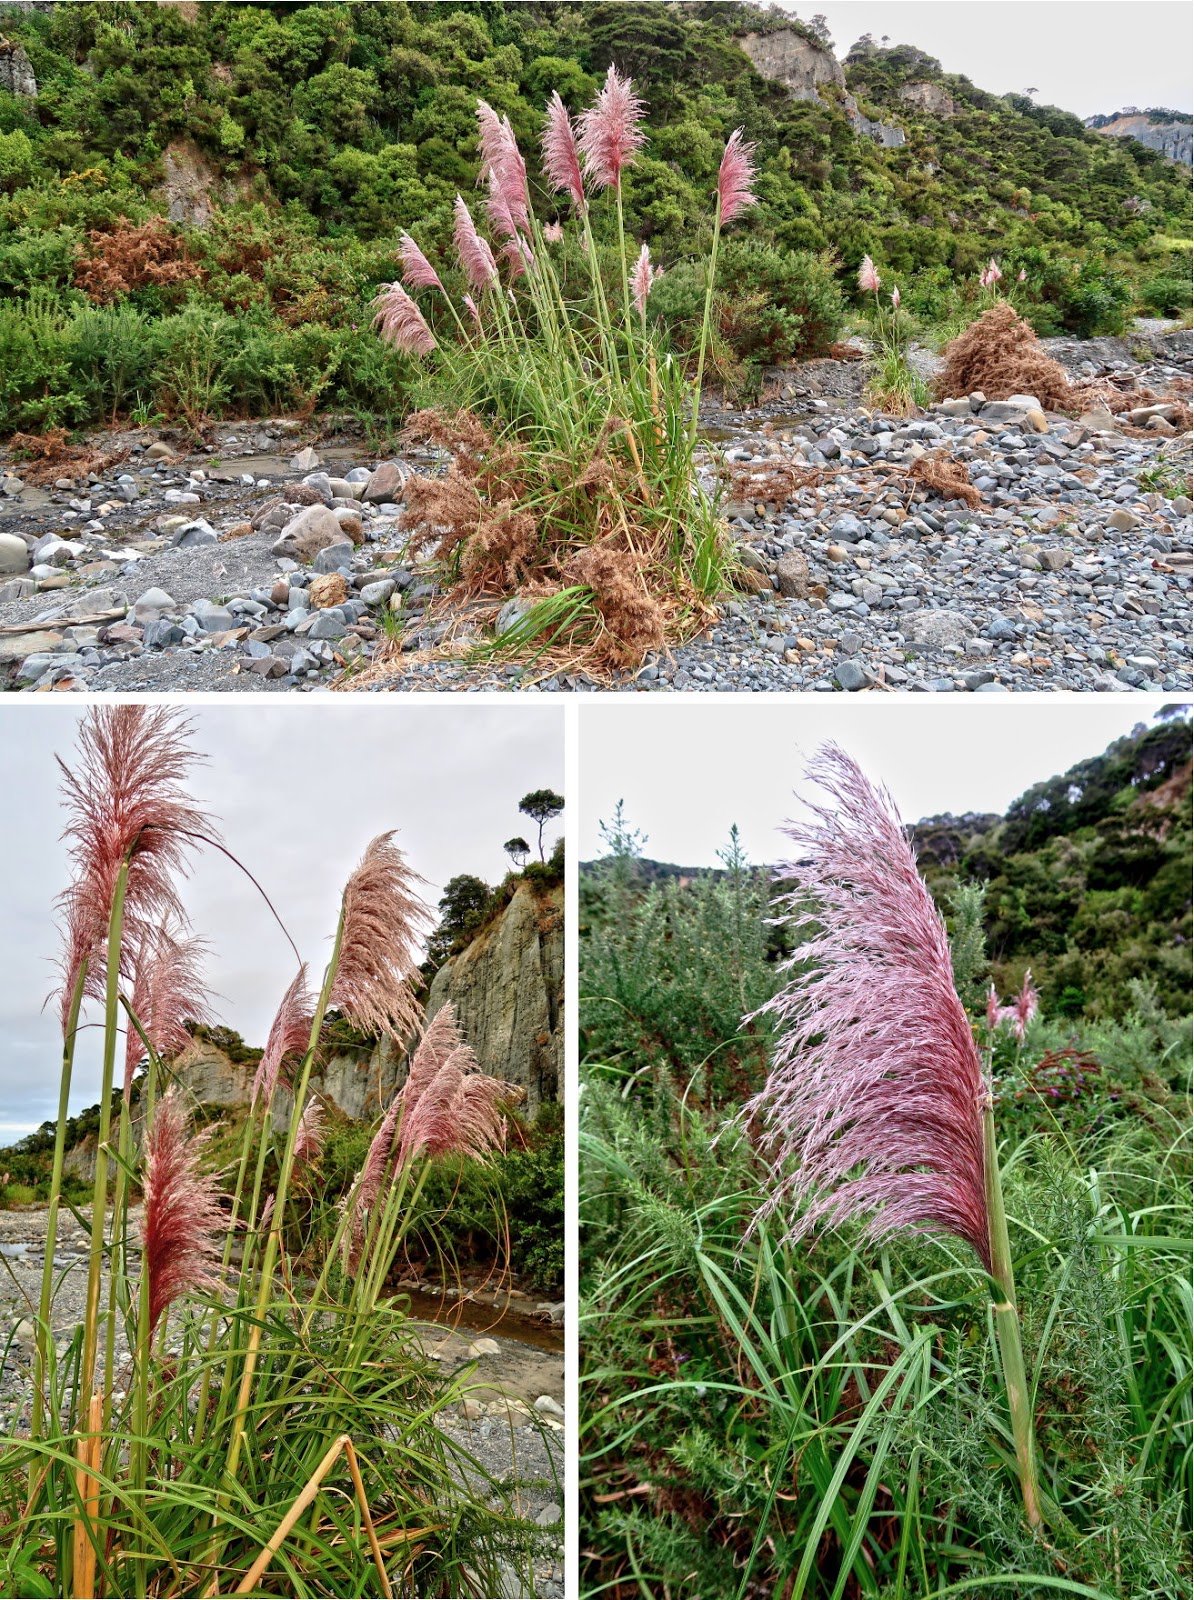
5) Plenty of these Miscanthus (Silvergrass) along the streambed.
Could it be Miscanthus sinensis ?
Or Miscanthus floridulus ?
or ???
6) If you know the name of this yellow flower, please let me know.

7) If you know the name of this white flower, please let me know.

8) If you know the name of this pink flower, please let me know.

9) This is the first time I encounter this type of spider web. Wonder what spider made it?

Hoodoos - the pinnacles
The pinnacles are also called hoodoos ... tall, thin spires of earth & rock that stand straight up like obelisks or totem poles. They typically consist of conglomerate (coarse-grained sedimentary rock) topped by stones or hard mud that protect each pillar from the elements.
10) The start of the Putangirua Pinnacles ... These weird rock formation is what I come to see.

11) Further along the streambed; and continuation to the right of previous pic

12) Further along the streambed; and continuation to the right of previous pic ~~~
- Left yellow arrow: The main walk ... along the main valley of Putangirua Stream
- Right yellow arrow: There is a gully in that direction.

Explore gully #1
I'll explore the inside of the gully ... the gully in the direction of the right yellow arrow of the previous pic. Let me called it gully #1.
13) This is the start of gully #1.

14) Walking further inside the gully and looking at the left side of previous pic ~~~
- Lower pic: You can see clearly the hard mud on top of the pillars that protects them from weather erosion.

15) Gully #1 is very interesting !
- Left yellow arrow: I'll explore in the direction of the arrow.
- Right yellow arrow: There is a side gully (let me call it gully #2) in that direction. I'll have a quick look into there first.
- Red circle: The shrub in the circle is the same as the shrub in photo #16.

Gully #2
16) Taking a quick look inside gully #2 ~~~
- Red circle: The shrub inside the circle is the same as the shrub in the previous pic (photo #15).
- Left arrow: Gully #2 is in this direction ... but wait ...
- Right arrow: ... A side gully off gully #2 ! So this gully is a side gully off a side gully off a gully off a stream ! Sadly, I don't have time to go in there to explore :-(

17) Venturing a little inside gully #2, but not much further ~~~
This is as far as I'll go inside this gully.
There are so many side gullies in the Putangirua Pinnacles area that one can spend days and days exploring them all. I can't do that, I only have limited amount of time here.

Back at gully #1
18) Back to explore gully #1

19) Venturing further into the gully

20) Further into the gully ~~~
The scenery here is continuation to the right of the previous pic.
This is as far as I go in this gully.

21) Retracing steps out of the gully ~~~
The faraway cliff in the middle of the pic is part of the cliffs/hoodoos lining the north-west side of Putangirua stream.

Along Putangirua streambed
22) I am back at Putangirua streambed, at the entrance to gully #1; and looking at the cliffs/hoodoos lining the north-west side of the stream.

23) Walking further along the streambed ~~~
- Another part of the hoodoos lining the north-west side of the stream
- Continuation to the right of this pic is photo #24.

24) (To enlarge the image, click on it.)
Looking directly ahead (and continuation to the right of the previous pic) ~~~
- Left yellow arrow: The direction I'm heading
- Right yellow arrow: Another gully branching off in that direction ... No, I won't be going in there to explore :-(
- Red arrow: Same as the broad column pointed to by the red arrow in photos #26, #28 and #29

25) Walking further forward; and looking at the hoodoos lining the north-west side of the stream again ~~~
- You should be able to match some of the hoodoos here with those in the previous pic.

26) (Continuation to the right of the previous pic)
- Red arrow: Same as the broad column pointed to by the red arrow in photos #24, #28 and #29
- Upper pic:
• Left yellow arrow: The direction I'm going
• Right yellow arrow: Another gully branching off in that direction ... Sadly, I won't have time to go in there to explore :-( Too many interesting gullies !
- Lower pic: Closer towards the right yellow arrow of the upper pic

27) A close look at a short pillar, the one in the foreground ... You can see clearly that it is made of conglomerate (coarse-grained sedimentary rock).
- This one has lost its cap stone. And so, it has been eroding and will erode away quite quickly.
- 2 blue arrows: In the background are these 2 tall pillars, same as the ones pointed to by the 2 blue arrows in photo #29.

28) Walking further forward ~~~
- Scenery here is south-east side of the Putangirua stream.
- Red arrow: Same as the broad column pointed by the red arrow in photos #24, #26 and #29
- Photos #29 and #30 zoom into the left and right sides of this pic respectively.

29) Zooming into left side of the previous pic ~~~
- 2 blue arrows: Same as the 2 tall pillars pointed to by the blue arrows in photos #27
- Red arrow: Same as the broad column pointed to by the red arrow in photos #24, #26 and 28
- Also, compare with the left side of photo #26's upper pic, you should be able to match up some of the hoodoos.
- Continuation to the right of this pic is photo #30.

30) Zooming into right side of photo #28 ~~~
- It is also the continuation to the right of previous pic, photo #29.
- Continuation to the right of this pic is photo #31.
31) (Continuation to the right of photo #30)
Looking back at where I came from ... I walked up the streambed to here.

32) Walking further forward; and looking at the hoodoos lining the north-west side of the stream again ~~~
- You should be able to match some of the hoodoos here with those in photo #25.

33) This pic is very similar to the previous one - again, looking at the hoodoos lining the north-west side of the stream.

34) There is another gully here !
- Upper pic:
• Left yellow arrow: Direction I'm going
• Right yellow arrow: Another gully branching off in that direction ... Again, sadly I won't be going in there to explore :-( Too many interesting gullies !
- Lower pic: Closer look towards the inside of the gully, the right arrow of the upper pic

35) Hoodoos lining the south-east side of the stream ~~~
You should be able to match some of the hoodoos in photos #28, #29 and #30 with the hoodoos here.

36) Walking further upstream ~~~
- 2 red ovals: They circle the same rock face and help you to visualize the juxtaposition of the 2 pics below with each other.
- Lower pic:
• Directly ahead is the streambed which is now narrower.
• Yellow arrow: There is another side gully in that direction ... Refer to photo #37.

37) Looking into the side gully ... along the yellow arrow of the previous pic ~~~
No, I didn't venture side ... though I wish I can. Too many gullies to explore and I don't have the time to explore them :-(

38) And further up the dry stream ~~~
- Red dot: This is about as far up stream as I'll go.
- Red oval: Same rock face as in the 2 red ovals in photo #36
- Yellow arrow: The arrow here and the yellow arrow in photo #36 both point to the entrance to a side gully. The previous pic, photo #37, peeks into this gully.

Turn around area
I've reached an area where it is time for me to turn around. Though you can certainly go much further in if you wish.
39) The next 4 photos, (photos #39 to #42) form a 270 degree panorama.

40) (Continuation to the right of previous pic)
The dry stream winds its way further up. But I am turning around now :-(
Actually it is not too far to go to the end of the dry stream. So now I'm kicking myself for turning around too early.

41) (Continuation to the right of previous pic)

42) (Continuation to the right of previous pic)
The dry streambed - I walked along it to where I'm now. And now I'm returning down the same streambed.
Note the flute-like surface of the rock face. They are due to erosion by rain water running down the conglomerate rock face.
43) Closer look at the conglomerate rock ~~~
- Upper pic: Zooming into the flute-like surface of the bottom-right quarter of photo #41
- Lower pic: This is the close up view of a conglomerate rock. It is identical to the "Totem Pole" in Australia's Wollemi National Park ... refer to photo #37 in my blog: http://mntviews.blogspot.com.au/2017/10/totem-pole-wollemi-nat-pk-nsw-australia.html . The only difference is the colour. The Totem Pole is red-brown. Where as here it is grey.

44) Near where I am now, there is another side gully. This pic peeks into it.

Retracing steps back along Putangirua streambed
45) I've turned around and now looking down towards where I walked up the streambed.
You should be able to match some of the hoodoos here with those in photo #42.

46) Panning slightly to the right of previous pic - also looking down at the streambed.

47) Upper pic: Panning slightly to the right of previous pic
Lower Pic: Walking a few steps forward and snapping the same scene down at the streambed

48) The 3 pics below form a 270-degree panorama.
- Upper pic:
• South-east side of the stream ... similar scene as photo #26
- Middle pic: (Continuation to the right of the upper pic)
• Towards south-west ... similar scene as photos #46 and #47
- Lower pic: (Continuation to the right of the middle pic)
• North-west of the stream ... similar scene as photos #25

49) Walking further down the streambed ~~~
You should be able to match the hoodoos here with those in the middle pic of photo #48.

50) Continuation to the right of previous pic

51) A few more steps down the streambed ~~~
This pic is to the left of previous pic; and you should be able to match the hoodoos here with those in photo #49.

52) Further down the streambed

To Putangirua Pinnacles Lookout
53) Coming to the start of the foot track to the Putangirua Pinnacles Lookout ~~~
- Upper pic: On one side of the streambed is this signage:
• Left sign: The Pinnacles 10min/0.3km
• Right sign: Pinnacles Lookout 30min/0.6km
Te Kopi Loop Track 5km
- Lower pic: Opposite the signage is the foot track ... I'm going there now, first to the Lookout, then onto Te Kopi Loop Track.

54) The foot track to Pinnacles Lookout

Putangirua Pinnacles Lookout
55) This is it ... Putangirua Pinnacles Lookout

56) View from the lookout down at the Putangirua Pinnacles ~~~
- Upper pic: I can match some of the hoodoos here with what I had seen before. For example, the hoodoo pointed by the red arrow is the same as the ones pointed by the red arrow in photos #24, #26, 28 and #29.
- Lower pic: Me ... To prove I have been at this wonderful place and not pinching pictures from the web.

To Te Kopi, a small settlement
From the lookout, there is a direct foot track back to the carpark and camping area. I take a loop track to Te Kopi first, then to the car.
57) Passing this tree ... Wonder what tree is it?

58) On the way to Te Kopi ~~~
- Palliser Bay is in front. Beyond it is Cook Strait.
- The 3 red arrow point to, from left to right:
1 Where my car is parked is below the cliff there.
2 A tree ... In photo #59, I'll be at that tree.
3 Turakirae Head

59) If you know the name of this tree, please let me know.
(It is the tree pointed to by the middle red arrow of the previous pic.)

60) On the way to Te Kopi (To enlarge the image, click on it.)
- Palliser Bay is in front. Beyond it is Cook Strait.
- Red arrow: Turakirae Head
- Red oval: Refer to photo #61.
- Vertical yellow arrow on the left: Te Kopi is below the cliff there.
- The other broken yellow arrows: The route to Te Kopi
- Plants lining left side of the path: Refer to photo #62.

61) Is this a reed? It is the one in the red oval of the previous pic.

62) This is the plant lining the path of photo #60.
If you know its name, please let me know.
What I do know is they like to grow together in mass, and in a bloody tangled mess. They are prickly too. For off-track hikers, it is incredibly difficult to bash through them ... almost impossible.

63) Coming to a gate, beyond which is private property ... but the footpath is open to public.
- Palliser Bay is in front.
- Red arrow: Turakirae Head
- Vertical yellow arrow on the left: Te Kopi is below the cliff there.
- The other broken yellow arrows: The route to Te Kopi

64) Rural scenery on the way to Te Kopi

65) Rural scenery on the way to Te Kopi ~~~
- Palliser Bay is in front.
- Red arrow: Turakirae Head

66) Come to a farm dam ~~~
- Yellow arrows: The route to Te Kopi
- Red oval: I'll cross a fence there ... Refer to photo #67.

67) Now crossing the fence ... This spot is the red circle of photo #66.

68) Onopordum acanthium (Scotch or Scottish Thistle, Cotton Thistle) ~~~
They are abundant along the streambed to Putangirua Pinnacles and also here.
Native to Europe and Western Asia ...
... from the Iberian Peninsula, east to Kazakhstan, and north to central Scandinavia.
Widely naturalised elsewhere, with especially large populations present in the United States and Australia.
In Australia, it is mostly regarded as a weed.
Well, looks like this plant has invaded New Zealand as well :-)

69) Here, the path to Te Kopi is along a narrow strip of land bounded by fences on both sides.
- I think this strip is also private property. In any case, access is allowed for the public.
- The fence on the right is to keep the cows in ... refer to photo #70.

70) Looking over the fence at the cows (right side of previous pic) ~~~
- Why is there a brown cow mixed with the black cows ?
- Red arrow: Turakirae Head

71) Now crossing from private property into public land ~~~
- The sign says:
Warning
Cliff edge
Please stay on marked track

72) Still on the way to Te Kopi ~~~
Follow the yellow arrow which will take you down the cliff. Afterwards, the route to the car goes from right to the left of this pic, along the seaside at the bottom of the cliffs.

73) Hebe stricta growing by the side of the path ~~~
Commonly called koromiko, it is a plant of the family Plantaginaceae, and is endemic to New Zealand. Recently Hebe stricta has been reclassified and the botanical name has changed to Veronica stricta.

Going down the cliff towards Te Kopi
74) Going down the cliff towards Te Kopi
- Palliser Bay is in front.
- Red arrow: Turakirae Head
- Photo #76 zooms into the right side of this pic.

75) (To enlarge the image, click on it.)
Almost 180-degree panorama of Palliser Bay.
- Beyond the bay is Cook Strait.
- Photo #76 zooms into the right edge of this pic.
- Photo #77 zooms into the left side of this pic.
- Red arrow: Turakirae Head
- Red circle: Te Kopi, the small settlement
- Yellow arrow: The path to Te Kopi. When I reach Te Kopi, I'll turn left and walk along the seaside to the Putangirua Pinnacles carpark.

76) Zooming into the right side of photo #74 and also the previous pic ~~~
- Cape Palliser Road is the road you can see here.

77) Zooming into the left side of photo #75 ~~~
- Red circle: Te Kopi, the small settlement
- Red dot: Putangirua Pinnacles carpark ... It is blocked by the slope and so can't be seen from here.
- Yellow arrow: The path to Te Kopi ... When I reach Te Kopi, I'll turn left and walk along Cape Palliser Road (which is just by the seaside) to the Putangirua Pinnacles carpark.

Te Kopi, the small settlement
78) Te Kopi, the small settlement ~~~
- Probably, the buildings you can see here is the entire Te Kopi settlement.
- Yellow arrow: I'll walk in that direction to meet up with Cape Palliser Road.

79) At Cape Palliser Road at Te Kopi ~~~
- Yellow arrow: Direction of walk along Cape Palliser Road to Putangirua Pinnacles carpark
- The carpark is just behind the rocky knoll on the left half of the pic.

Post Script
If you live in NSW Australia, you maybe interested in the lone hoodoo in Wollemi National Park. It is called the Totem Pole.
It is not so easy to reach there. Photographs and a detailed trip report are in my blog:
http://mntviews.blogspot.com.au/2017/10/totem-pole-wollemi-nat-pk-nsw-australia.html
Eerie landscape indeed.
ReplyDeleteSaw a video from Calvin Pang ... Seems that Zhangjiajie National Forest Park in Hunan, China is a grander version of NZ's Putangirua Pinnacles.
ReplyDelete